The Art of Timelapse: Mastering Essential Techniques for Visuals
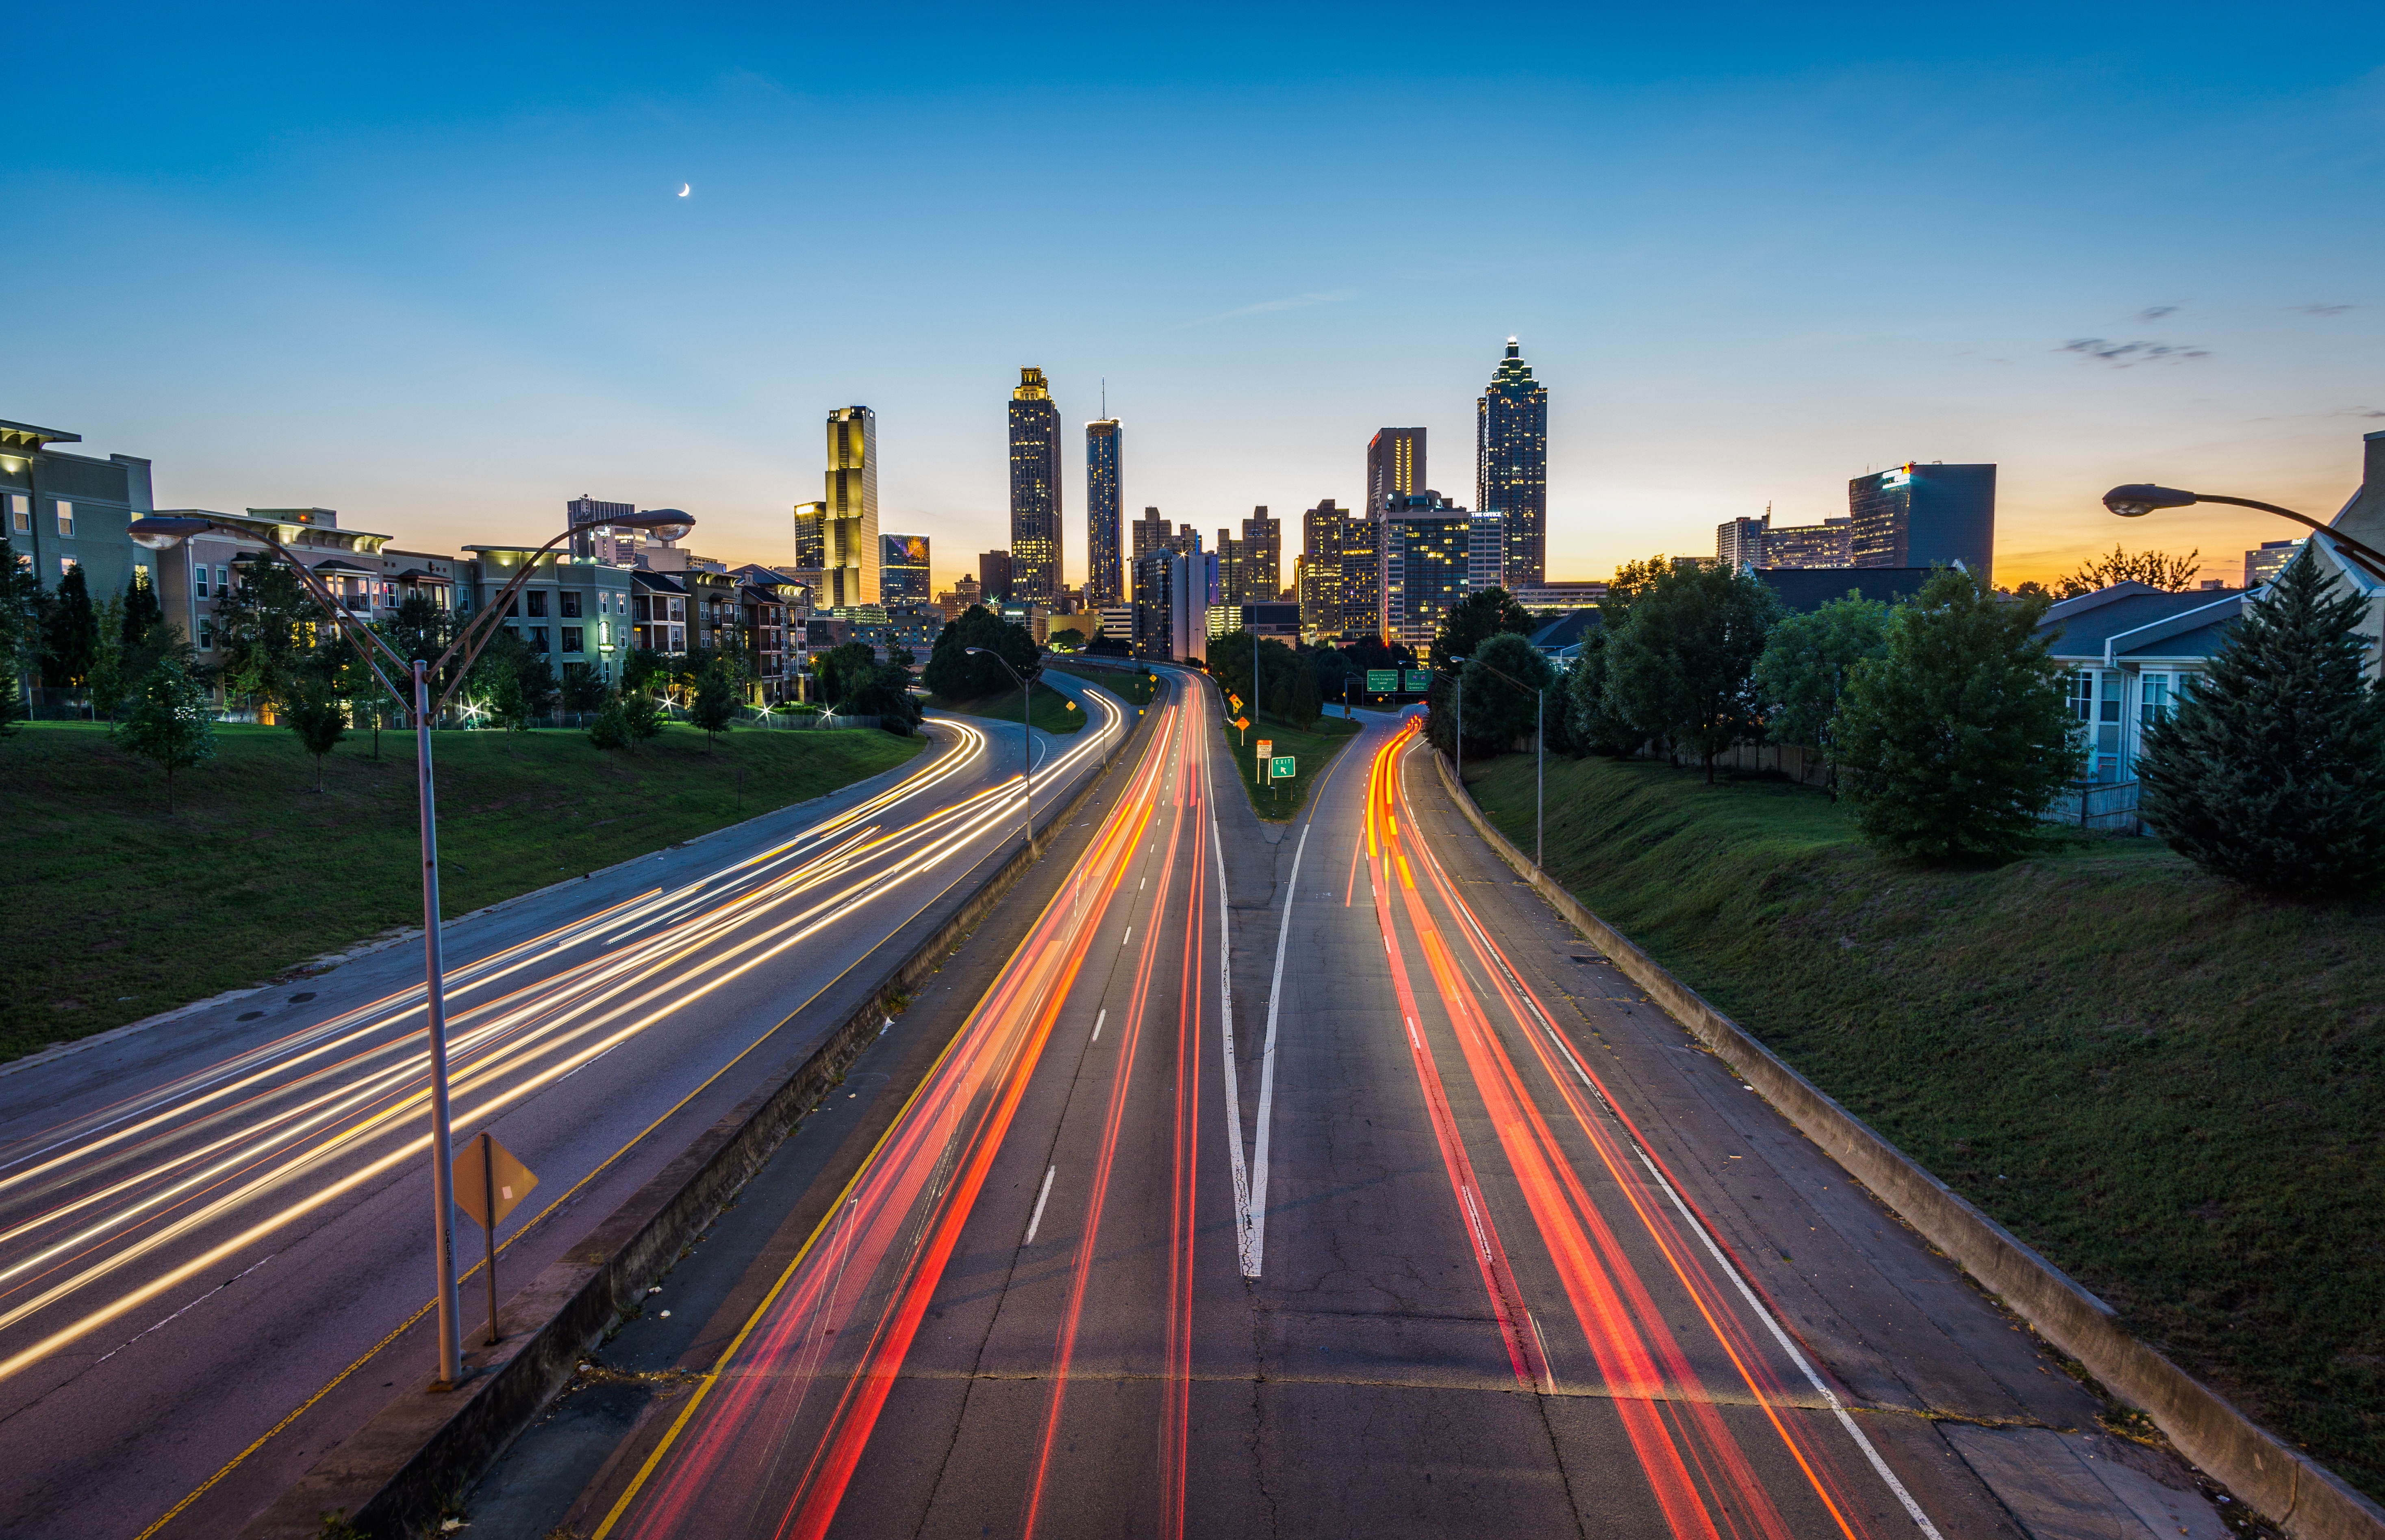
Have you ever wondered how to capture the beauty of a sunrise or the drama of storm clouds rolling in with your camera? Timelapse photography allows you to speed up time and transform the ordinary into the extraordinary. You've likely seen jaw-dropping timelapse videos of the night sky or bustling city streets online and on TV and thought, "How do they do that?" Well, the good news is that with some basic techniques, you can master the art of timelapse photography yourself. In this article, we'll walk you through the essential gear, settings, and skills you'll need to start creating your own stunning timelapse visuals.
Have you ever wondered how to capture the beauty of a sunrise or the drama of storm clouds rolling in with your camera? Timelapse photography allows you to speed up time and transform the ordinary into the extraordinary. You've likely seen jaw-dropping timelapse videos of the night sky or bustling city streets online and on TV and thought, "How do they do that?" Well, the good news is that with some basic techniques, you can master the art of timelapse photography yourself. In this article, we'll walk you through the essential gear, settings, and skills you'll need to start creating your own stunning timelapse visuals. Timelapse photography does require patience, but the results are well worth it. Before you know it, you'll be making your own viral masterpieces to share with the world.
Mastering Camera Settings for Timelapse
To capture stunning timelapses, you need to master your camera settings. The first thing to consider is exposure. For the smoothest transitions, use manual exposure mode and lock the exposure throughout your sequence. This ensures consistent brightness between frames.
You'll also want to choose an interval between shots that suits your subject. For example, for clouds moving across the sky or traffic in a city, 2-5 seconds is good. For a sunrise or sunset, 10-20 seconds usually works well. Take some test sequences at different intervals to see what you like.
Next, focus on your aperture. A higher f-stop like f/8 or f/11 is better as it provides a greater depth of field, keeping more of your scene in focus. This is especially important for timelapses where there's movement in the foreground and background.
For most daytime timelapses, your shutter speed will be relatively quick, around 1/30 to 1/125 second. At night, you'll use a longer shutter, around 1 to 20 seconds depending on available light. Be sure to use a tripod for longer exposures!
Finally, consider your ISO. In bright conditions, ISO 100 or 200 is ideal. At night, you'll need to increase to 400 or higher for a properly exposed image. However, avoid going too high if possible, as higher ISOs can introduce digital noise into your footage.
With the right settings dialed in, your timelapse will go from amateur to pro in no time. Practice makes perfect, so get out there and start shooting! The results will be worth it.
Essential Equipment for Capturing Smooth Timelapse Footage
To capture cinematic timelapses, you'll need a few essential pieces of equipment.
\n\n###A DSLR or Mirrorless Camera
A digital camera that allows manual control of exposure settings is key. You'll want to be able to adjust aperture, ISO, and shutter speed for the best results. Interchangeable lenses will also give you more creative control over your shots.
\n\n###A Sturdy Tripod
A stable tripod is essential for smooth, shake-free timelapses. Look for a tripod that can support your camera steadily for long periods without drifting. For extra stability, you can weigh down the tripod with sandbags or a hook.
\n\n###Intervalometer
An intervalometer allows you to automatically take pictures at set intervals. You'll program how often you want your camera to snap a shot, then let the intervalometer do its thing while your camera is mounted to the tripod. Some cameras have built-in intervalometers, but you can also buy external ones that work with most cameras.
\n\n###Spare Batteries
Timelapse sequences can require hundreds of shots over a long period of time. Make sure you have fully charged spare batteries for your camera so you don't lose power halfway through capturing your scene.
\n\n###Memory Cards
As with batteries, more memory cards will allow you to take more photos for longer periods. For timelapses with thousands of frames, you'll want at least 64GB of storage.
With the right equipment and technique, you'll be creating gorgeous timelapse reels in no time. The results will be well worth the investment! Happy shooting!
Techniques for Creating Visual Interest in Your Timelapses
To create visual interest in your timelapses, focus on techniques that draw the viewer in and keep them engaged.
Vary Your Framing
Shoot at different focal lengths - try wide shots, medium shots and close-ups. This adds diversity and dynamics. Even subtly zooming in or out during a shot can create visual flow.
Change Your Perspective
Vary your camera angles and viewpoints. Shoot high and low, left and right. Tilt up or down. Play with distortion from angles. Getting closer to your subject or higher up can make a dramatic difference in how the viewer perceives the scene.
Include motion
Add kinetic energy to your timelapse by incorporating moving elements like people, vehicles, animals or natural elements in the wind or water. Their motion is sped up and captivating. You can also pan (side to side), tilt (up and down) or slide your camera during the shot for a dynamic feel.
Adjust Settings Creatively
Vary your aperture, ISO and shutter speed settings for different effects. A fast shutter speed will make motion very choppy while a slow shutter speed blurs motion in a dreamy way. High ISO and aperture create a shallow depth of field, focusing attention. Low settings show more in focus.
Use Transitions
Add visual interest by incorporating transitions between your clips. Some options include crossfades, cuts, wipes, spins and slides. Even a simple fade in and out between clips adds a professional touch. Transitions provide flow and rhythm.
With practice, you'll develop an instinct for combining these techniques in innovative ways to achieve truly compelling visuals in your timelapses. The possibilities for creativity are endless! Keep experimenting and have fun with it.
How to Add Motion to Your Timelapse for a Dynamic Effect
Adding motion to your timelapse footage can take it from static to dynamic.
\n\n###Pan and Zoom
Panning and zooming involves moving the camera during capture to follow the subject or zoom in and out. This adds a sweeping, cinematic effect. To pan, slowly move your camera horizontally or vertically while capturing images. For zooming, adjust the focal length of your lens to zoom in or out over time.
\n\n###Slider or Dolly
Using a slider, dolly or rail system lets you smoothly glide your camera for dramatic panning shots. As your camera moves along the track, it captures images at set intervals. This allows you to get stable, professional-looking pans, tilts, and slides. For a DIY option, you can build your own basic slider.
\n\n###Rotation
Rotating your camera during capture is an easy way to add movement. As the camera rotates, it captures frames at set intervals. The end result is a spinning timelapse. For a motorized rotation effect, use a programmable turntable or slider. Manually rotating the camera yourself also works with some practice. Frame your subject in the center of rotation for the most dynamic results.
\n\n###Motion Control
Motion control devices automate camera movement for you. They allow you to program the path, speed, and rotation of your camera. Some systems provide up to 5 axes of motion for incredible sweeping cinematic movements. While expensive, they produce stunning professional results if you want to get serious about timelapse.
Using techniques like panning, zooming, sliders, rotation, and motion control opens up a whole new world of possibilities for crafting engaging and compelling timelapses. With some practice, you’ll be making pro-level sequences in no time. The key is start with one technique, master it, then move on to the next. Your viewers won’t believe their eyes!
Advanced Timelapse Techniques for Stunning Visuals
Once you’ve mastered the basics, it’s time to take your timelapse skills to the next level. Here are some advanced techniques to create truly stunning visuals.
Camera Movement
Static timelapses can get boring after a while. Try slowly panning, tilting or zooming your camera during capture for a dynamic effect. Use a programmable pan/tilt head for smooth movement. Start and end at interesting points in your scene and keep the speed of movement consistent.
Day to Night Transitions
Capture the transition from day into night or night into day. This requires calculating the ideal capture interval to smoothly transition over the available hours of daylight. You’ll also want to adjust your aperture and ISO for optimal exposure as the light changes. These dramatic transitions can be visually striking.
Hyperlapses
Timelapse videos with a lot of movement over a long distance are known as hyperlapses. You’ll need equipment like a camera slider, dolly or gimbal to smoothly move your camera over the capture period. Hyperlapses require careful planning to determine the optimal capture interval and path of movement. They produce an exciting sped-up effect that’s perfect for travel and city scenes.
Multi-Axis Moves
For a really dynamic sequence, try moving your camera on multiple axes - left/right, up/down and zooming in/out. You'll need motorized pan, tilt and zoom control for smooth multi-axis movement. Plot the path of your move beforehand and practice to ensure fluid motion. Multi-axis moves, especially over longer capture periods, require a lot of practice to master but can result in a visually stunning end product.
Time-of-Day Blending
For a striking effect, blend footage captured at different times of the day into a single sequence. For example, you might start at dawn, cut to midday, then evening and end at night. Be very careful to match up your camera position and any movement between the different capture periods. Blending clips together from vastly different times of day requires advanced editing skills to look seamless, but the results can be dramatic.
Conclusion
So there you have it, the essential techniques to master timelapse photography and create visuals that truly captivate. With the right equipment, planning, and practice, you'll be creating professional-quality timelapses in no time. Remember to think about composition, use interval timers to capture the perfect amount of change, and always shoot in manual mode. Sure, it requires patience and can even be tedious at times. But seeing your final timelapse come together, with stunning transitions of light and the rhythmic dance of clouds sailing by—that's when all the effort pays off. Timelapse lets you see the world in a whole new way and share that transformed perspective with others. So get out there, be bold in your creativity, and make time stand still. The art of timelapse awaits you.
Subscribe to our newsletter
Get a weekly tech digest: podcast episodes, tips, and resources delivered straight to your inbox.
Other episodes you may like


Episode notes
Subscribe to our newsletter
Get a weekly tech digest: podcast episodes, tips, and resources delivered straight to your inbox.
Other episodes you may like

Episode notes
Subscribe to our newsletter
Get a weekly tech digest: podcast episodes, tips, and resources delivered straight to your inbox.